Creating Projects
Step-by-step guide to creating and configuring projects in Sproobo
Projects help you organise your sites into named groups. This guide walks you through creating your first project.
Prerequisites
You need an active subscription to create projects.
⚠️
Subscription Required: If you see "You need a subscription to create projects", navigate to the Pricing page to start your 7-day free trial.
Available Plans
- Forge: €9/month — up to 2 projects
- Orbit: €25/month — up to 10 projects
- Apex: €69/month — unlimited projects
All plans include a 7-day free trial.
Creating a Project
- 1
Navigate to Projects
In your Sproobo dashboard, click on "Projects" in the main navigation. If you have no projects yet, you'll see an empty state with a "Create project" button.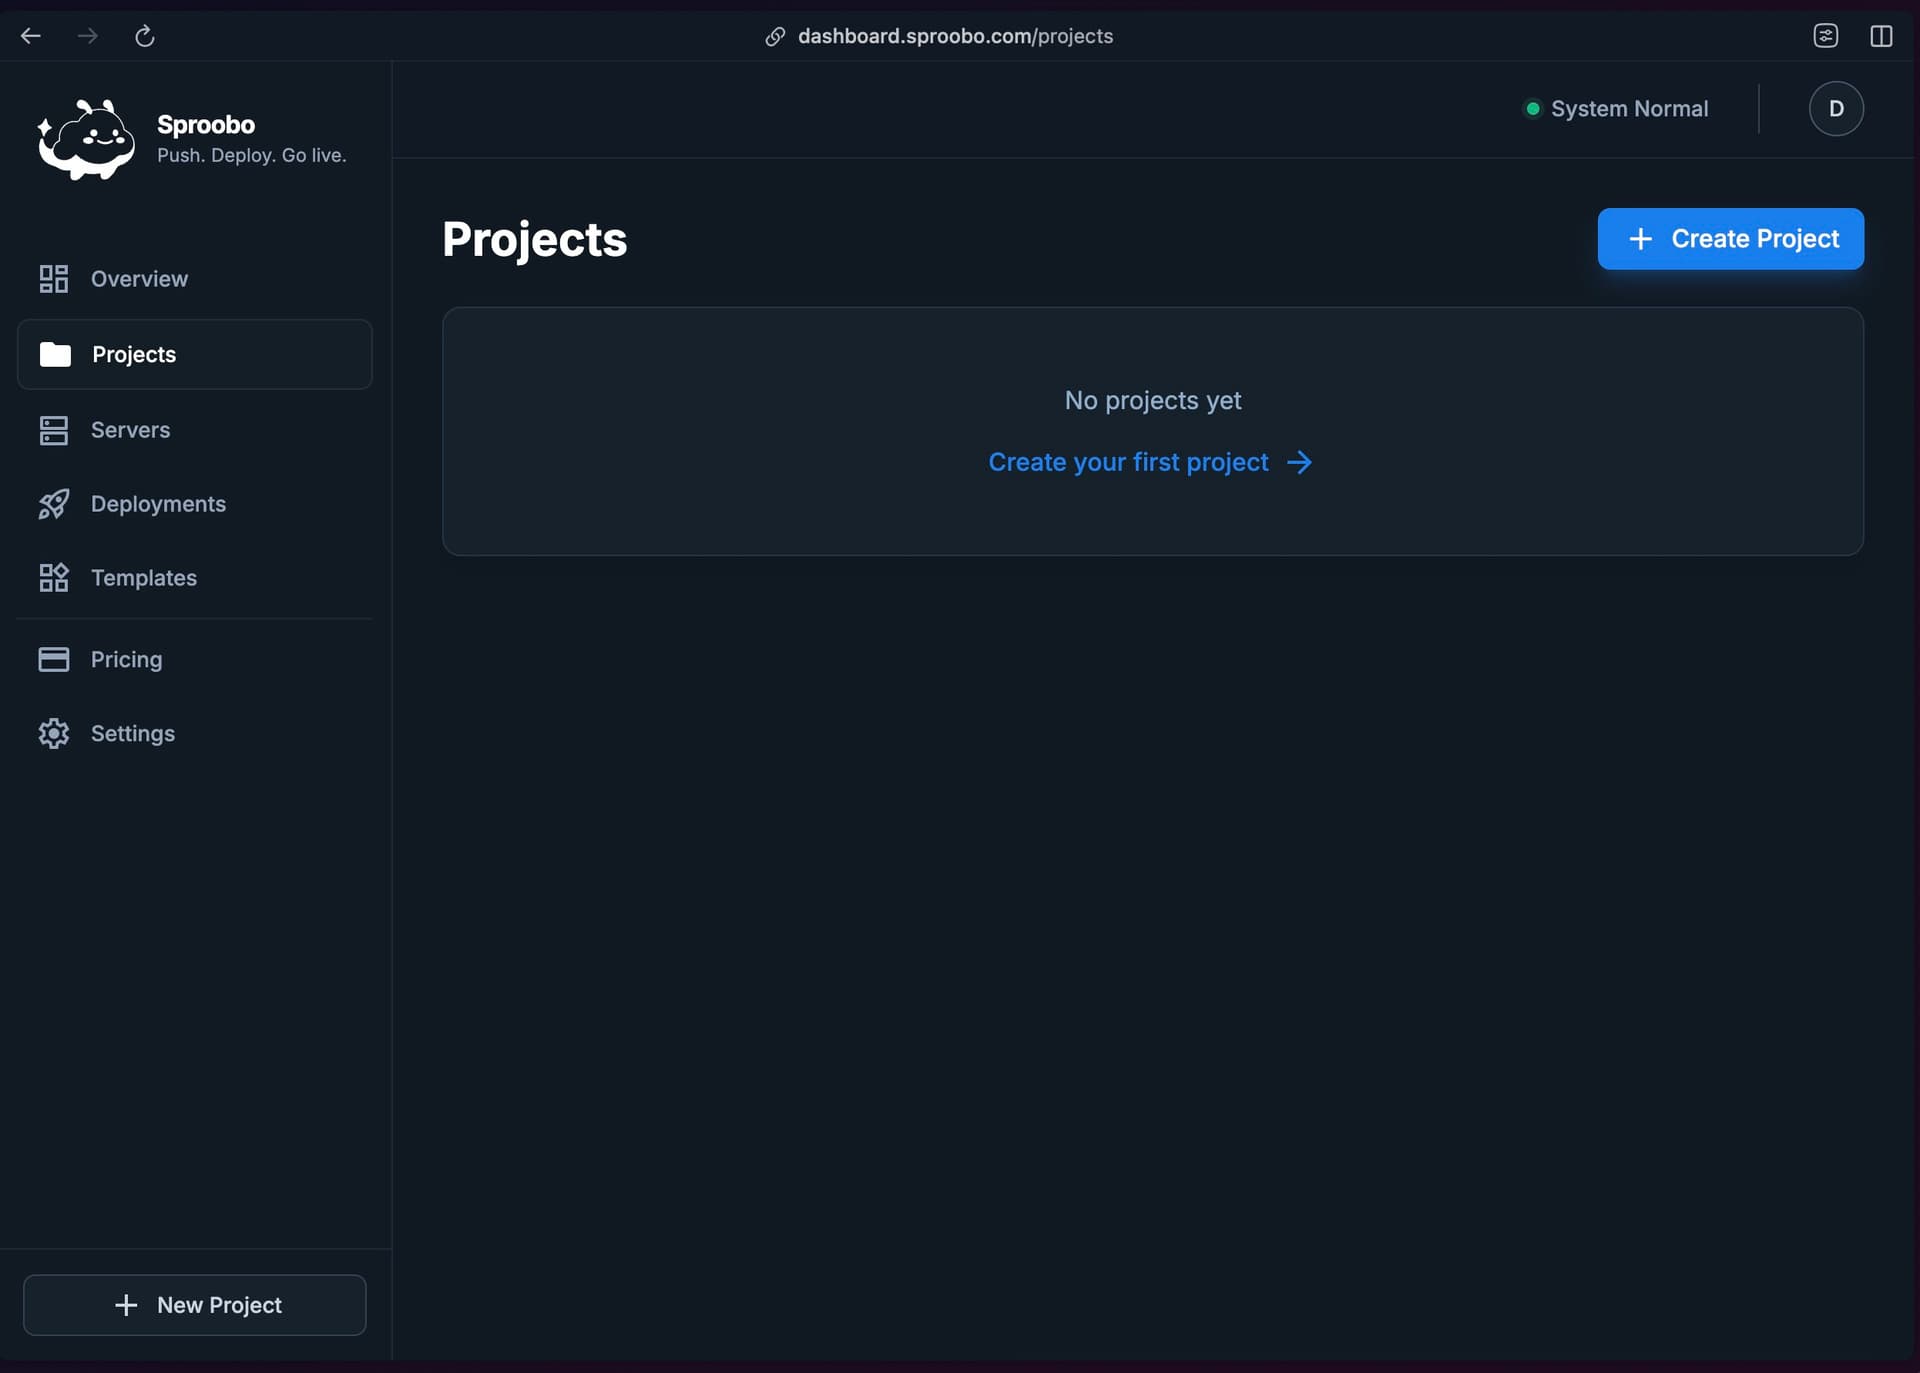
Navigate to Projects from the main dashboard navigation. - 2
Create Project
Click "Create project" and enter a name for your project (e.g. "Production", "Staging", "Client A").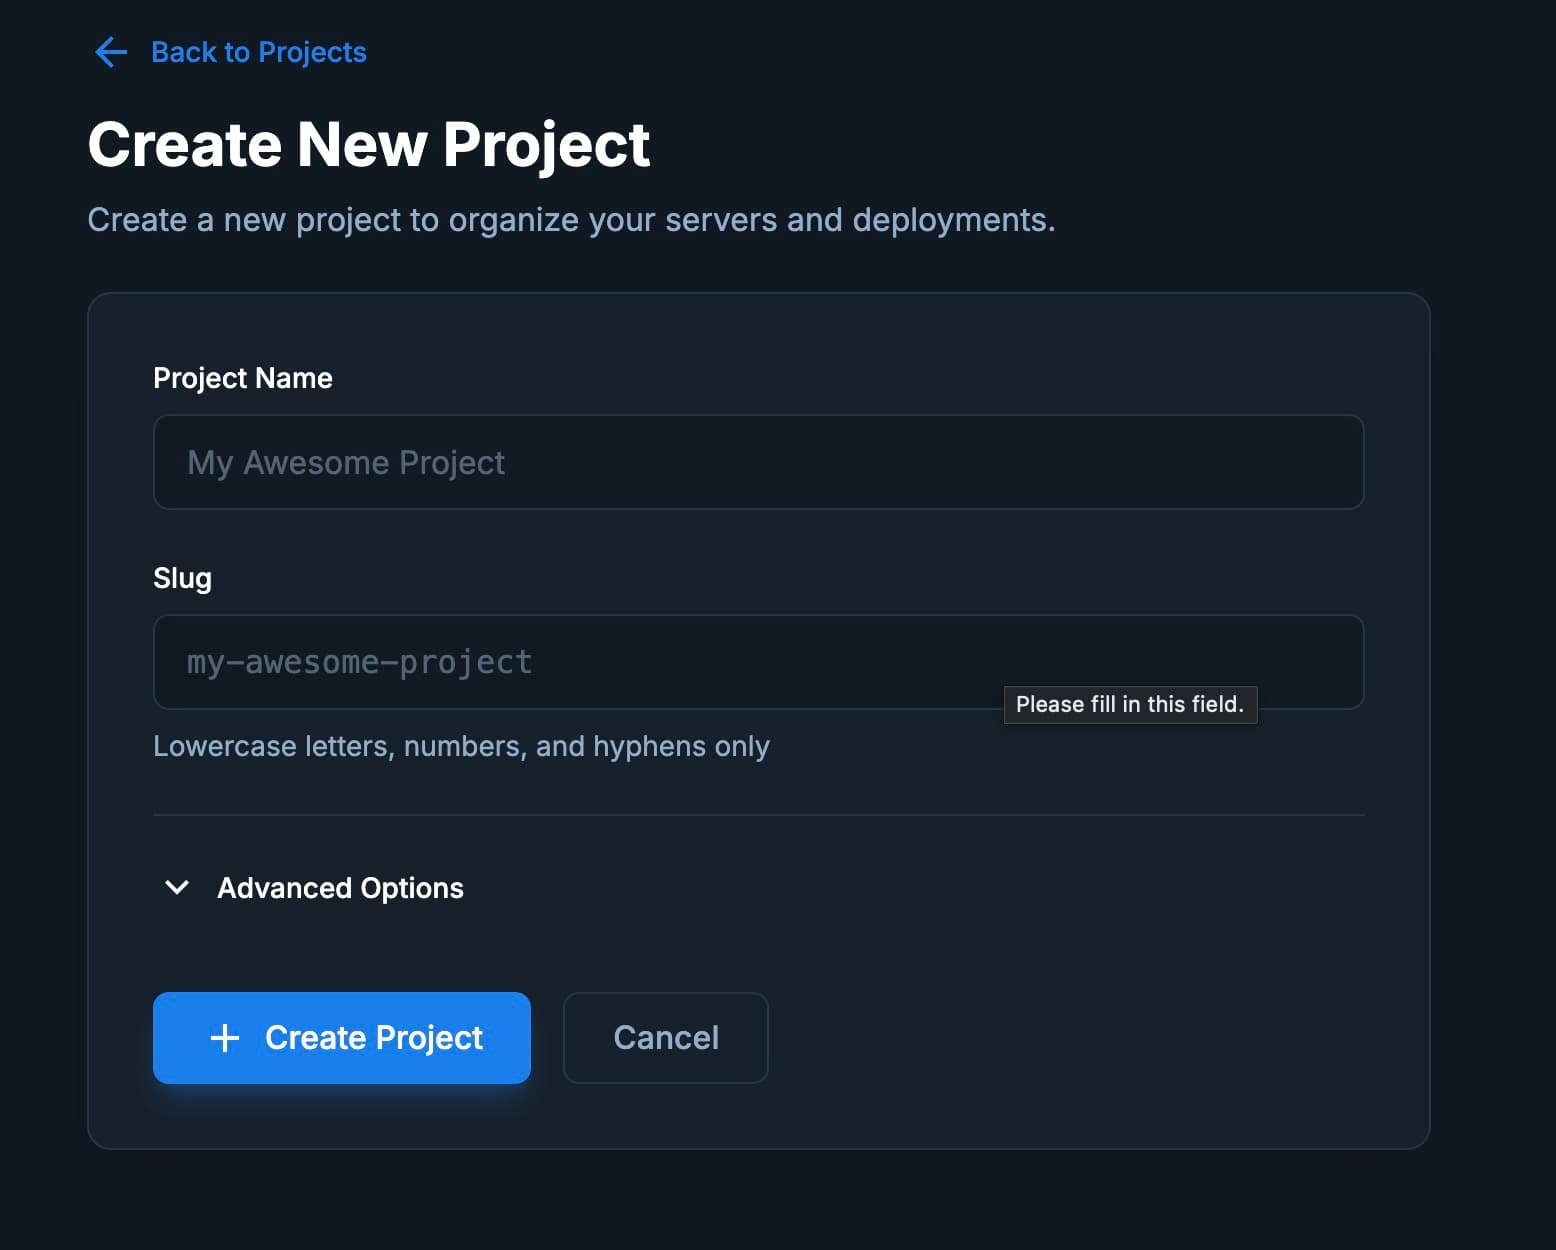
Enter a project name to create it. - 3
Connect a Hetzner API Token (Optional)
Expand "Advanced options" to connect a Hetzner Cloud API token to this project. This is required before provisioning servers.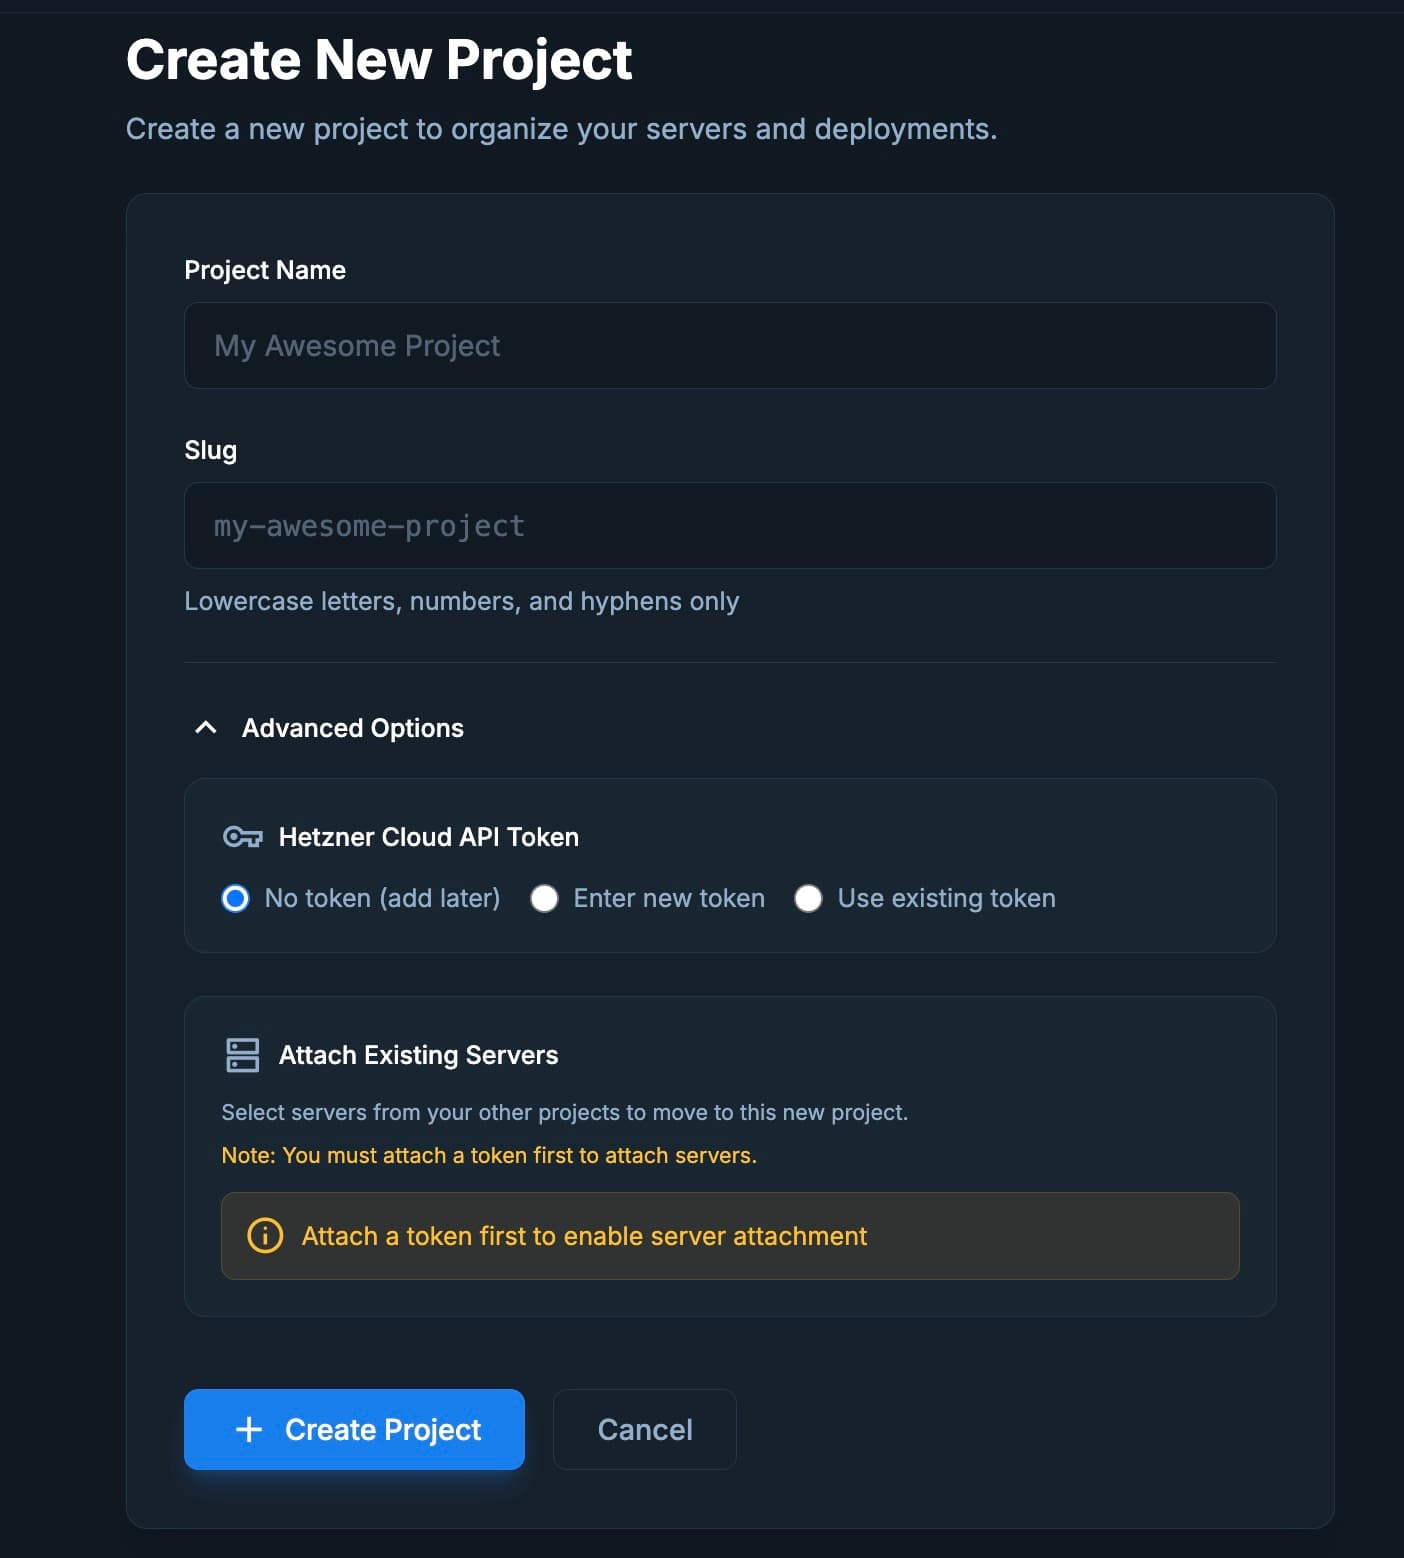
Optionally connect a Hetzner API token during project creation. Three options are available:- No token (add later): Create the project now and connect a token from the project settings later.
- Enter new token: Paste a Hetzner Cloud API token. Sproobo encrypts it with AES-256-GCM and validates it against the Hetzner API.
- Use existing token: Reuse a token already connected to another project.
Security: Your Hetzner token is encrypted before storage and only decrypted in memory when making API calls. It is never logged or exposed in the dashboard.
Adding a Token After Creation
If you didn't connect a token during project creation, you can add one later:
- Navigate to your project dashboard
- Find the Hetzner Cloud Token section
- Connect a new token or select an existing one
ℹ️
A connected Hetzner token is required before you can provision servers.
Troubleshooting
Subscription Required
"You need a subscription to create projects."
- Go to the Pricing page
- Select a plan and click "Start free trial"
- Once active, return to Projects and create your project
Project Limit Reached
"You've reached your project limit."
- Forge: 2 projects maximum → upgrade to Orbit for 10
- Orbit: 10 projects maximum → upgrade to Apex for unlimited